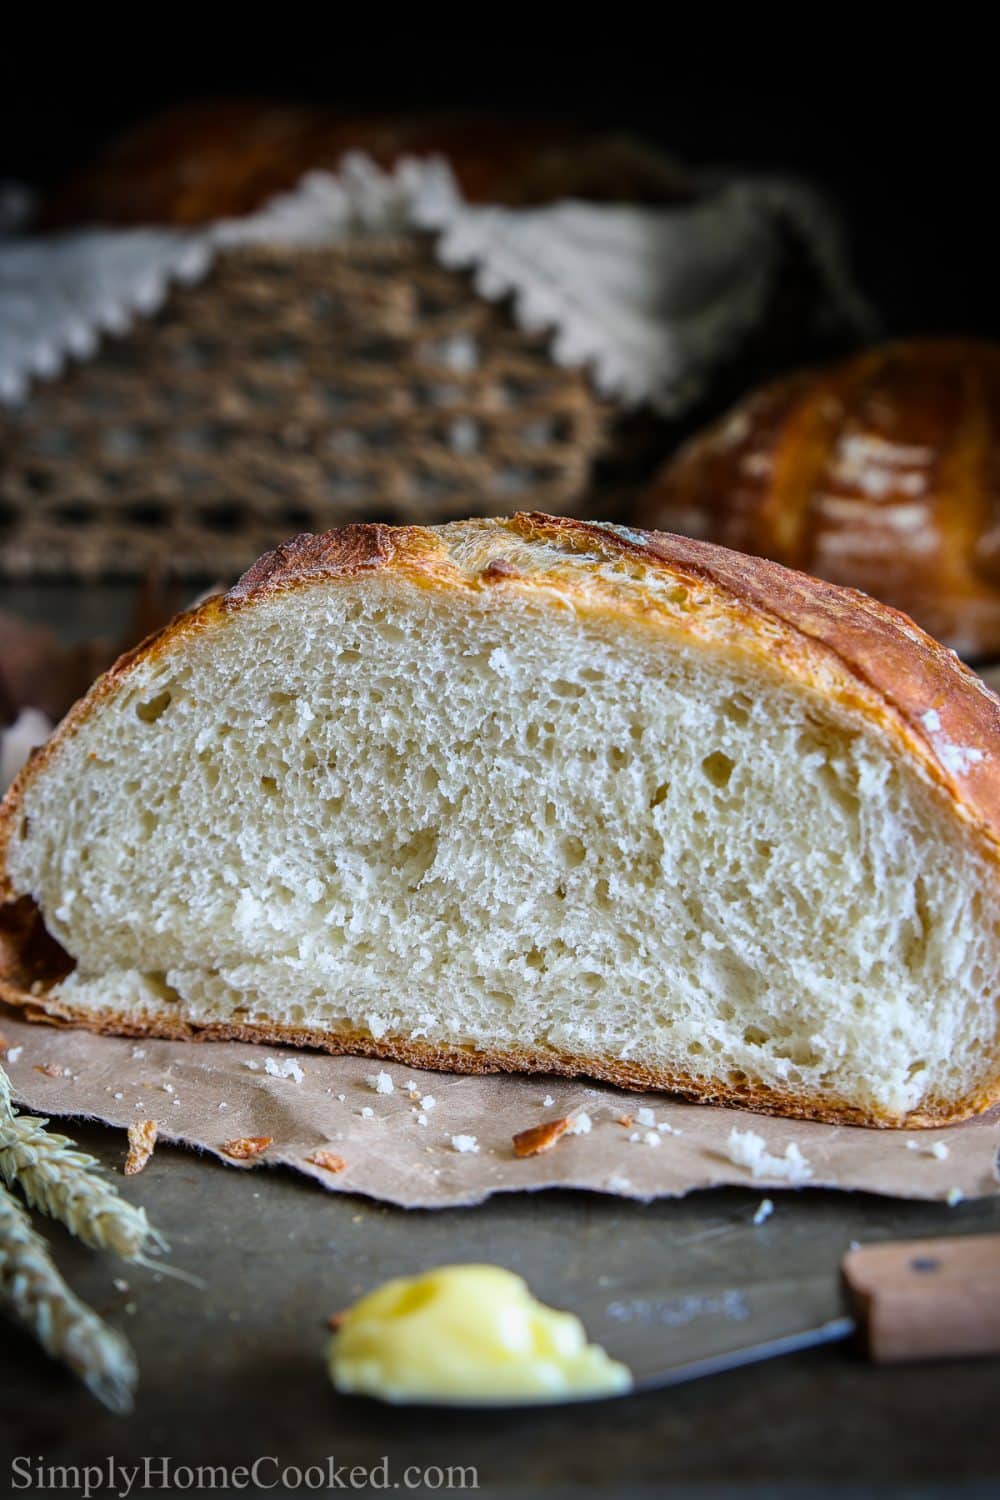
This Rustic Bread recipe is made with simple ingredients but tastes as if it was made right from a European bakery! Soft crumbs and crunchy crust!
Serve this amazing bread with my creamy chicken gnocchi soup or chicken noodle soup for an amazing dinner.
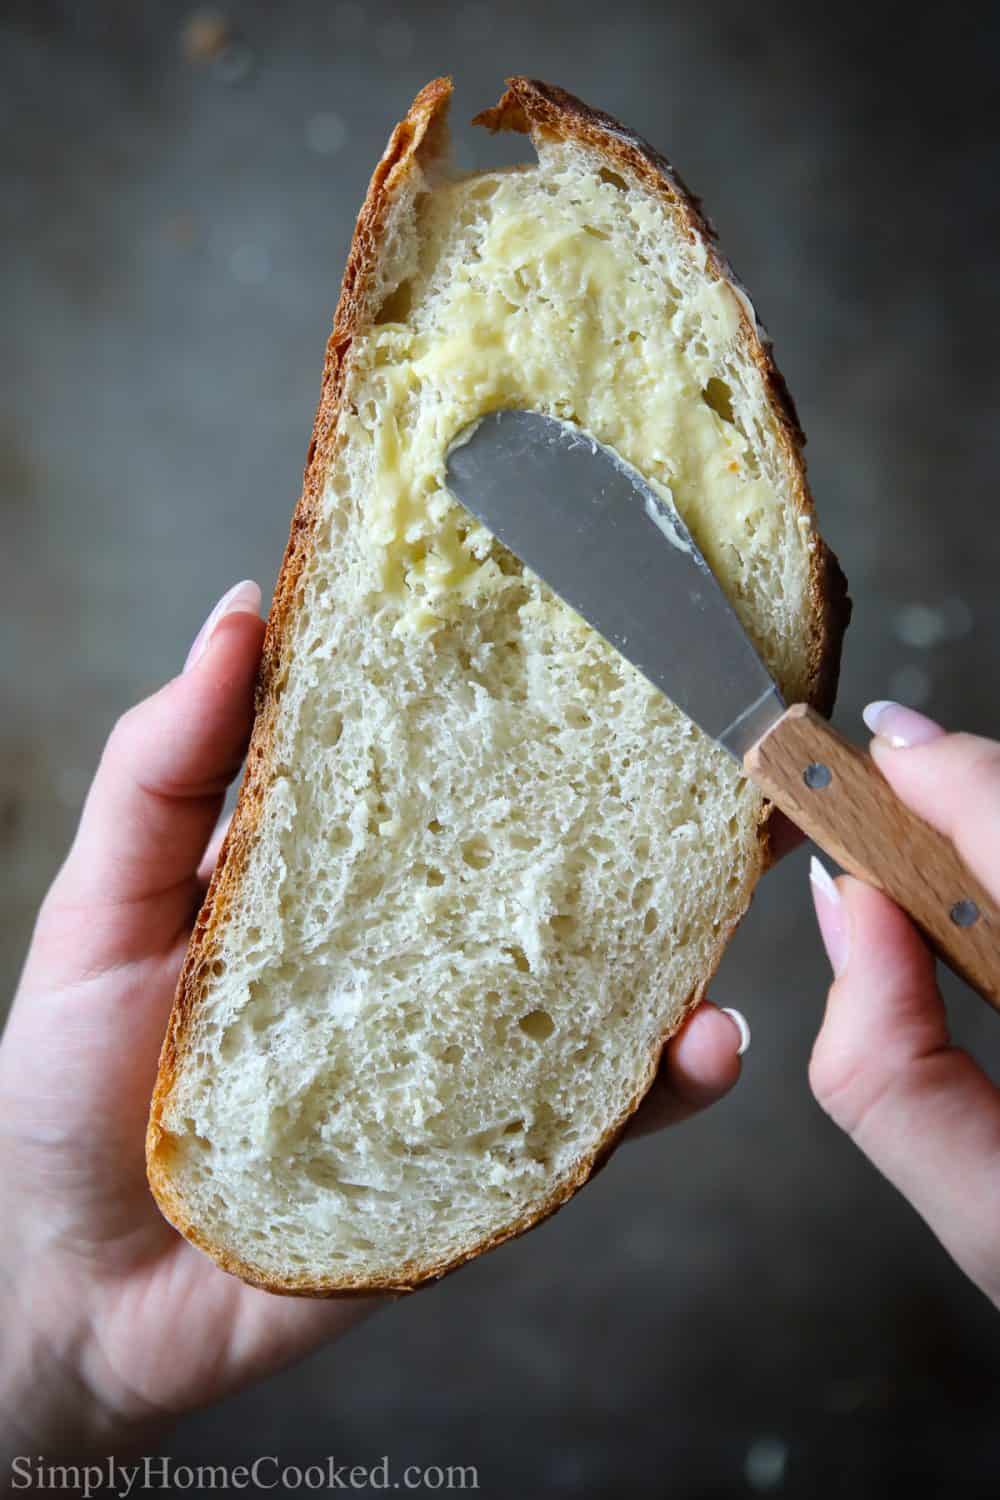
This Rustic Bread recipe is made with simple ingredients but tastes as if it was made right from a European bakery! The crust is nice and crunchy but the inside is super soft and fluffy. It doesn’t get any better than this!
If you love good homemade bread, you should also try my multigrain harvest bread recipe and fluffy buttery brioche bread recipe as well!
This post may contain affiliate links. Read my disclosure policy here.
How to make rustic crusty bread
- Combine the wet ingredients- warm water, sugar, and yeast. Let it get frothy. Then stir in the dry ingredients.
- Work the dough with your hands until no more traces of flour appear.
- Let the dough rise (covered) in a warm place for 1 hour and 30 minutes. Beat it down and let it rise again overnight.
- Split it between 2 bread baskets, let it rise again for another 2 hours in a warm place.
- Place them into 2 dutch oven pots. Then mist with 4 sprays of warm water. Cover and bake.
Can I make bread overnight?
Yes! Once you let the dough rise (or proof) for the second time, leave it covered with a kitchen towel overnight or up to 8 hours.
How to get crispy bread crust?
Mist the bread with warm water using a spray bottle right before you bake it. This will create steam and evidently make a hard crunchy crust on your bread.
How do you keep bread fresh?
Store the baked and (cooled) bread at room temperature wrapped in foil then wrapped in a plastic bag. For long term storage, you can freeze bread in foil and plastic wrap for up to 3 months.
Tips to make a design on your homemade bread
- If you want to get a nice clean design on your bread, don’t use a knife, instead use a very sharp blade or a dough scorer.
Also try these AMAZING bread recipes!
Overnight Harvest bread– with 4 different grains and 5 different seeds!
Brioche Bread– the fluffiest bread you’ve ever heard of!
Focaccia bread– A classic rosemary infused Italian bread.
Full Recipe Instructions
Rustic Bread Recipe (overnight)
Ingredients
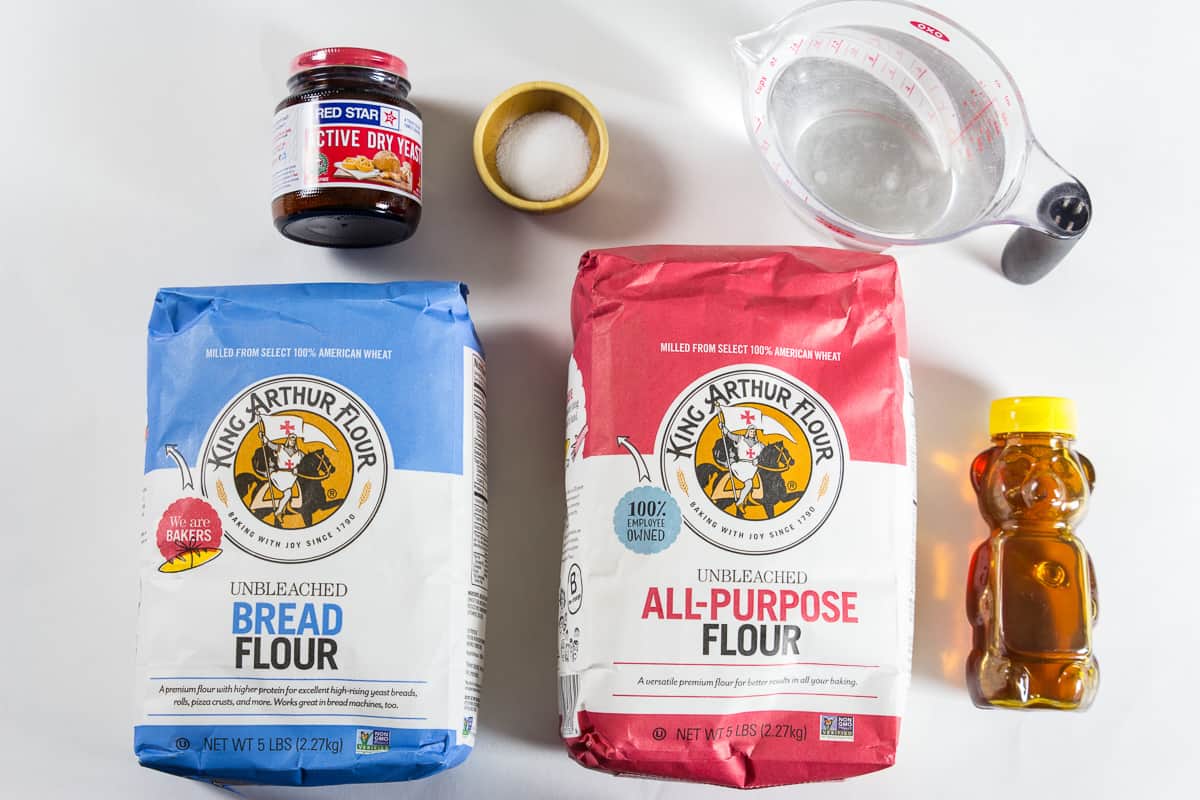
- 2 cups warm water 110 degrees
- 3 tbsp honey
- 2 tsp dry active yeast
- 3 cups bread flour
- 2 cups all-purpose flour
- 2 tsp salt
Instructions
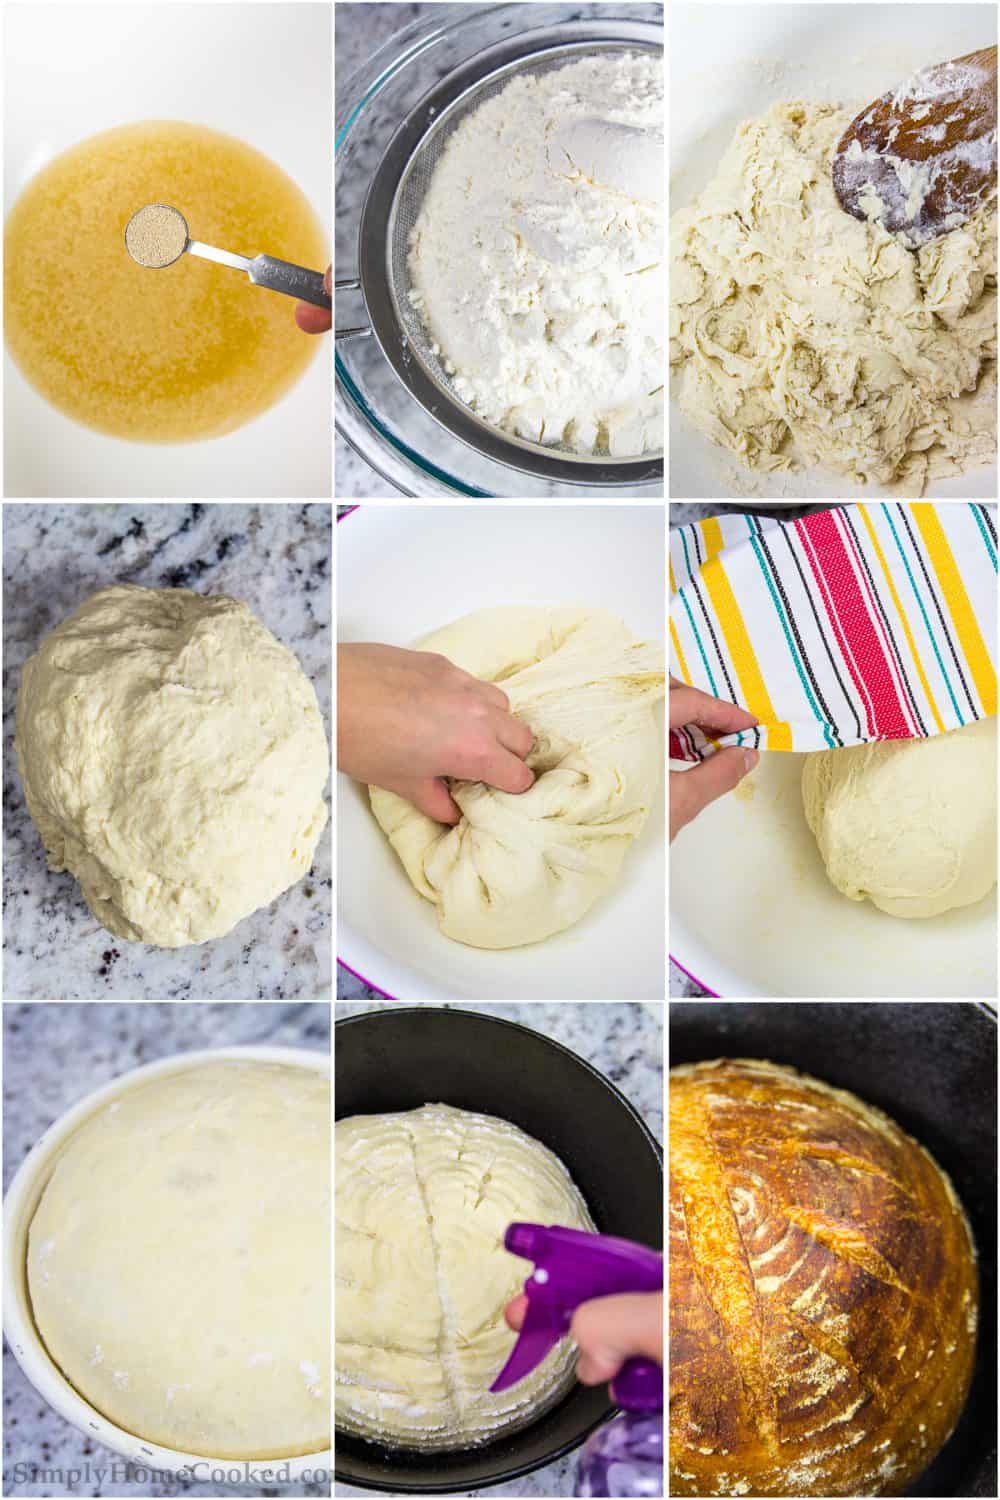
- In a large mixing bowl, combine 2 cups warm water (110 degrees Fahrenheit) with 3 tbsp honey. Then evenly sprinkle 2 tsp yeast on top of the water and honey. Wait until the yeast becomes slightly frothy. (About 5 minutes).
- Sift 3 cups bread flour, 2 cups all purpose flour, and 2 tsp salt into a separate bowl.
- Add the dry ingredients to the wet and combine it with a wooden spoon until well incorporated.
- Begin working into the dough with your hands. I found that stretching the dough helps incorporate the ingredients the best. Once you don’t see anymore patches of flour, stop kneading the dough.
- Place the dough into a large bowl (no grease necessary). Sprinkle a small amount of flour on top and cover the dough with a kitchen towel. Then let it sit at room temperature for 1 hour and 30 minutes. (Keep between 68-70 degrees Fahrenheit).
- After 1 hour and 30 minutes go by, deflate the dough and shape is back into a ball with your hands. Cover with a kitchen towel again and let is sit at room temperature overnight or 8 hours.
- After 8 hours have passed, deflate the dough once more and reshape it into a ball and place it back into the bowl. Cover with a kitchen towel and let it sit in a warm place for 2 hours or until it doubles in size. To speed up this step, turn your oven onto the proof cycle and place it in your oven. If you don’t have a proof setting on your oven, turn your oven on to 300 degrees Fahrenheit for 2 minutes and turn it off. This should be just enough warmth to let the dough proof.
- Remove the proofed dough onto a floured surface and divide it into halves. Shape each piece of dough back into a smooth ball.
- Place it into lightly floured proofing baskets. Dust the dough with flour and cover with a kitchen towel. Let it proof in a warm place for 1 hour and 30 minutes or until it doubles in size.
- Place a cast iron or Dutch oven pot (with lid) into the oven and let it heat up to 500 degrees Fahrenheit. Once the oven reaches 500 degrees Fahrenheit remove the pot from the oven. Open the lid and dust the bottom of the pot with flour. Gently flip the proofed dough into the cast iron or Dutch oven pot.
- Using a sharp blade make a few decorative slits into the top of the dough. This step is optional.
- Using a spray bottle, lightly spray the bread dough with 3-4 sprays of warm water. Place the hot lid on top and bake at 430 degrees Fahrenheit for 20 minutes.
- Note: Most people place an oven safe bowl filled with water in the oven to achieve that nice bread crust; I find that lightly spraying the bread with warm water is an easier way to achieve the same results.
- Then remove the lid from the pot and bake for an additional 15-20 minutes at the same temperature.
- The moment the bread is baked, CAREFULLY remove the bread with a spatula and place it onto the cooling rack. Be very cautious as the cast iron will be extremely hot.
Nutrition
Disclaimer:
- Some of the links above are affiliate links.
- All opinions are mine. I only promote products that I absolutely love.
- Vanilla Cake Pops- Starbucks Copycat (VIDEO) - November 13, 2024
- Pumpkin Spice Cupcakes - November 11, 2024
- Chicken and Mushroom Pastry - November 9, 2024


Eliana says
I’m looking forward to making this! could I use just 5 cups of APF instead of using both flours? I don’t have bread flour. Thank you!
Dina says
Hi Eliana, yes you can use AP flour instead 🙂 Enjoy!
BobW says
made this dozen or so times now, great recipe
Dina says
Hi Bob 🙂 Happy to hear you love this rustic bread recipe! Thank you so much for taking the time to leave your feedback! I hope you find many more delicious recipes on my blog 🙂
Aimie Beutler says
Does the cast iron need a lid, or just the dutch oven pot?
simplyhomecooked says
Hi Aimie, yes you need s lid for the cast iron.
Evan says
Love this recipe! Great results. Just wondering if the same results would be achieved by dropping one of the shorter proofing cycles?
simplyhomecooked says
Thank you, Evan! I wouldn’t recommend dropping any of the proof cycles since the dough needs to properly rise in order for it to bake up correctly.
ina says
Made it today! And loved it!! Very crusty and delicious! Easy to make!!thank you !!!💓
simplyhomecooked says
Hi Ina, you are very welcome! I’m thrilled that you enjoyed the rustic bread so much. There’s just something about homemade bread that is so amazing!😉
Bonnie says
Can I keep one ball of dough in the fridge while baking the first? I only have one Dutch oven.
simplyhomecooked says
Hi Bonnie, you don’t have to keep the other ball of dough in the fridge. Any semi-cool place will work well.