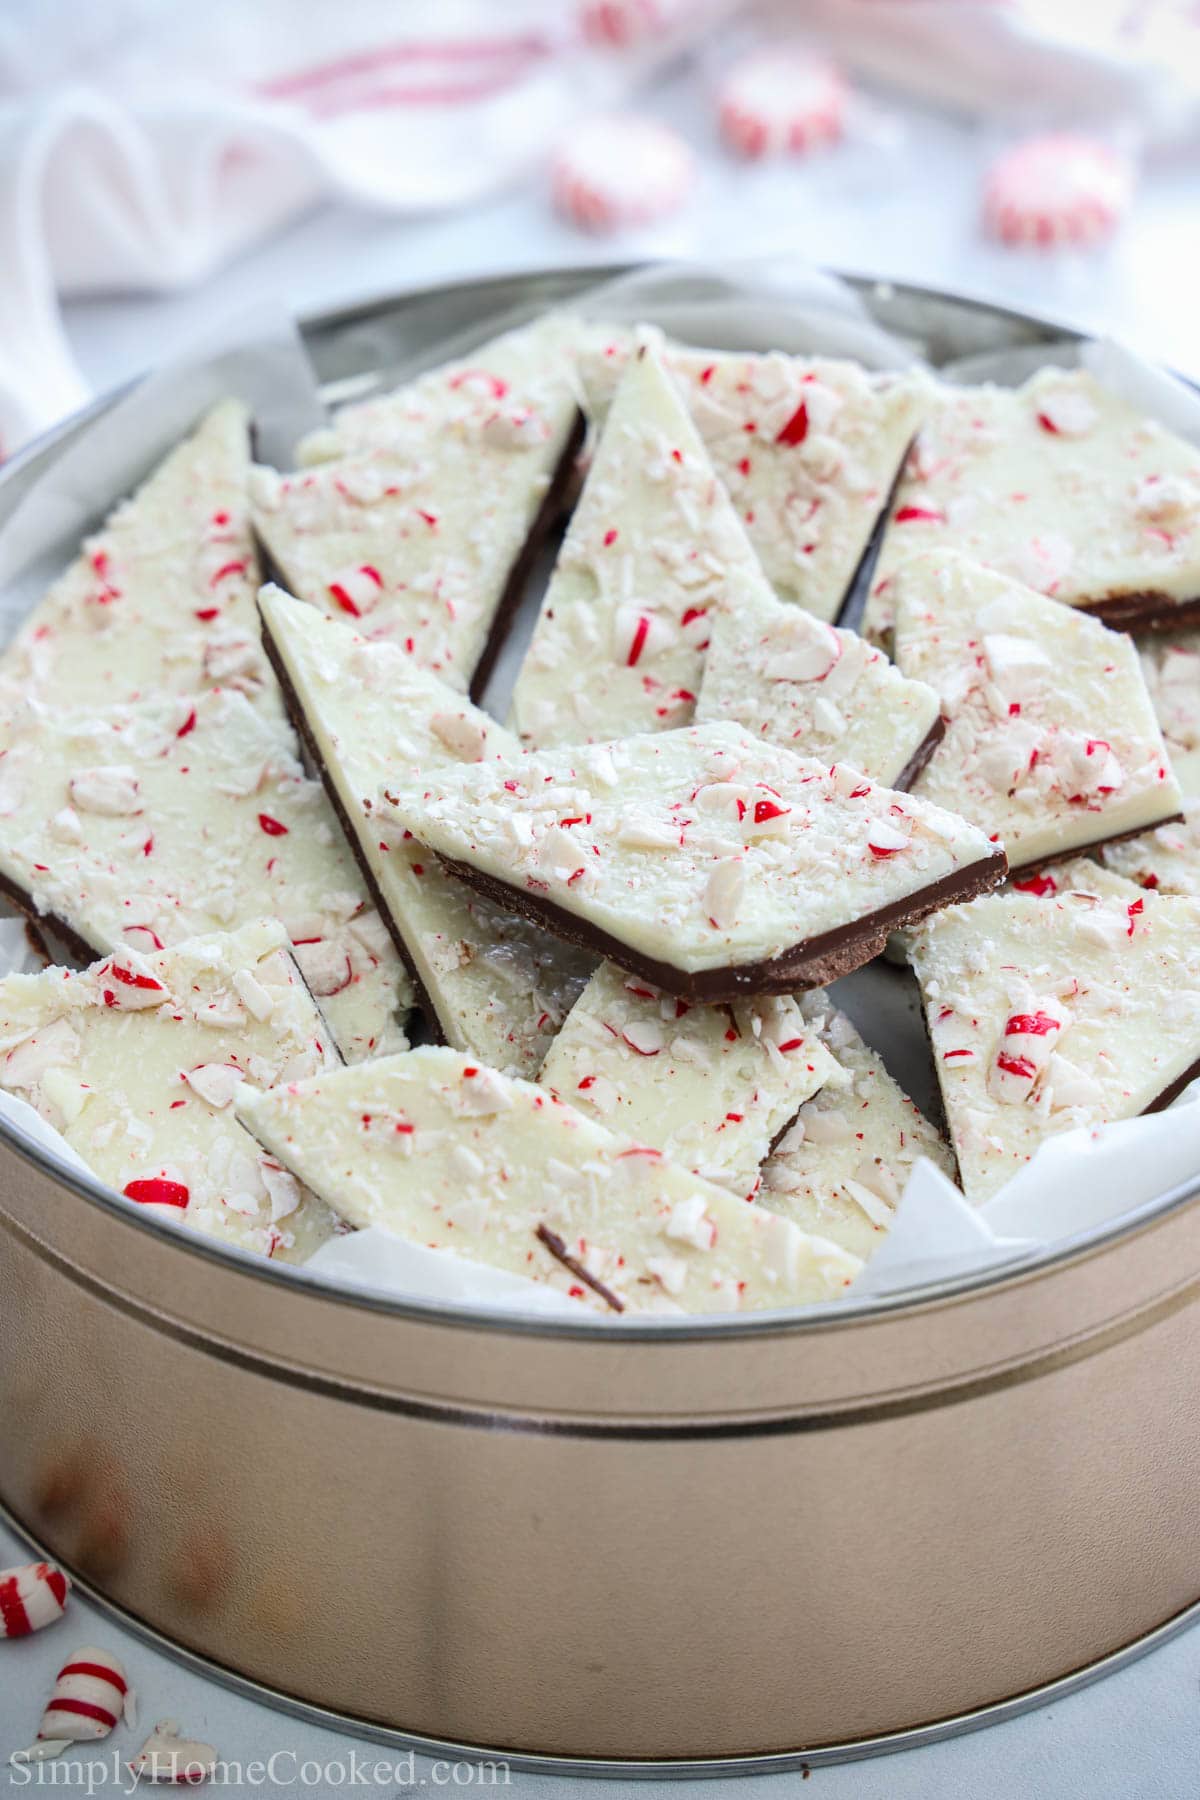
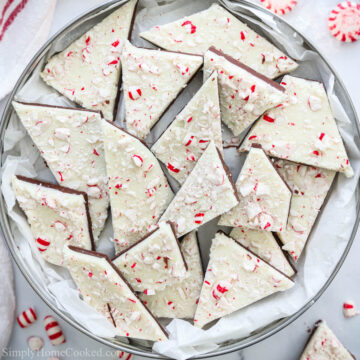
This Peppermint Bark is so easy to make and is just delicious. Made with two types of chocolate and covered in peppermint candies, it’s the perfect holiday treat.
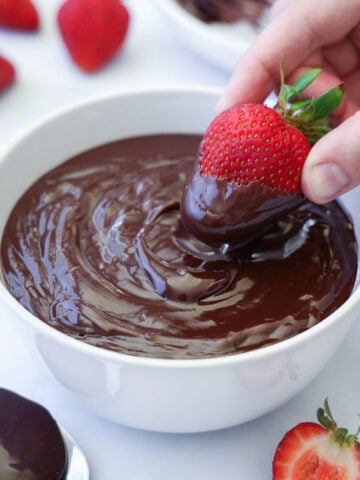
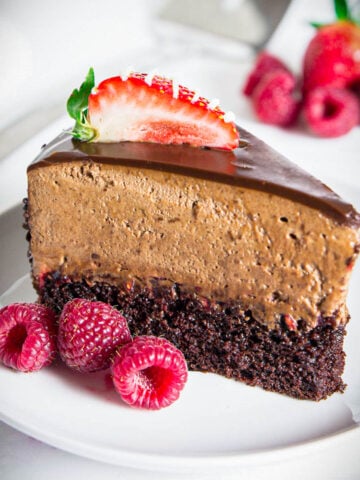
If you love chocolate desserts, then you should try this Chocolate Ganache and Chocolate Pot De Creme.
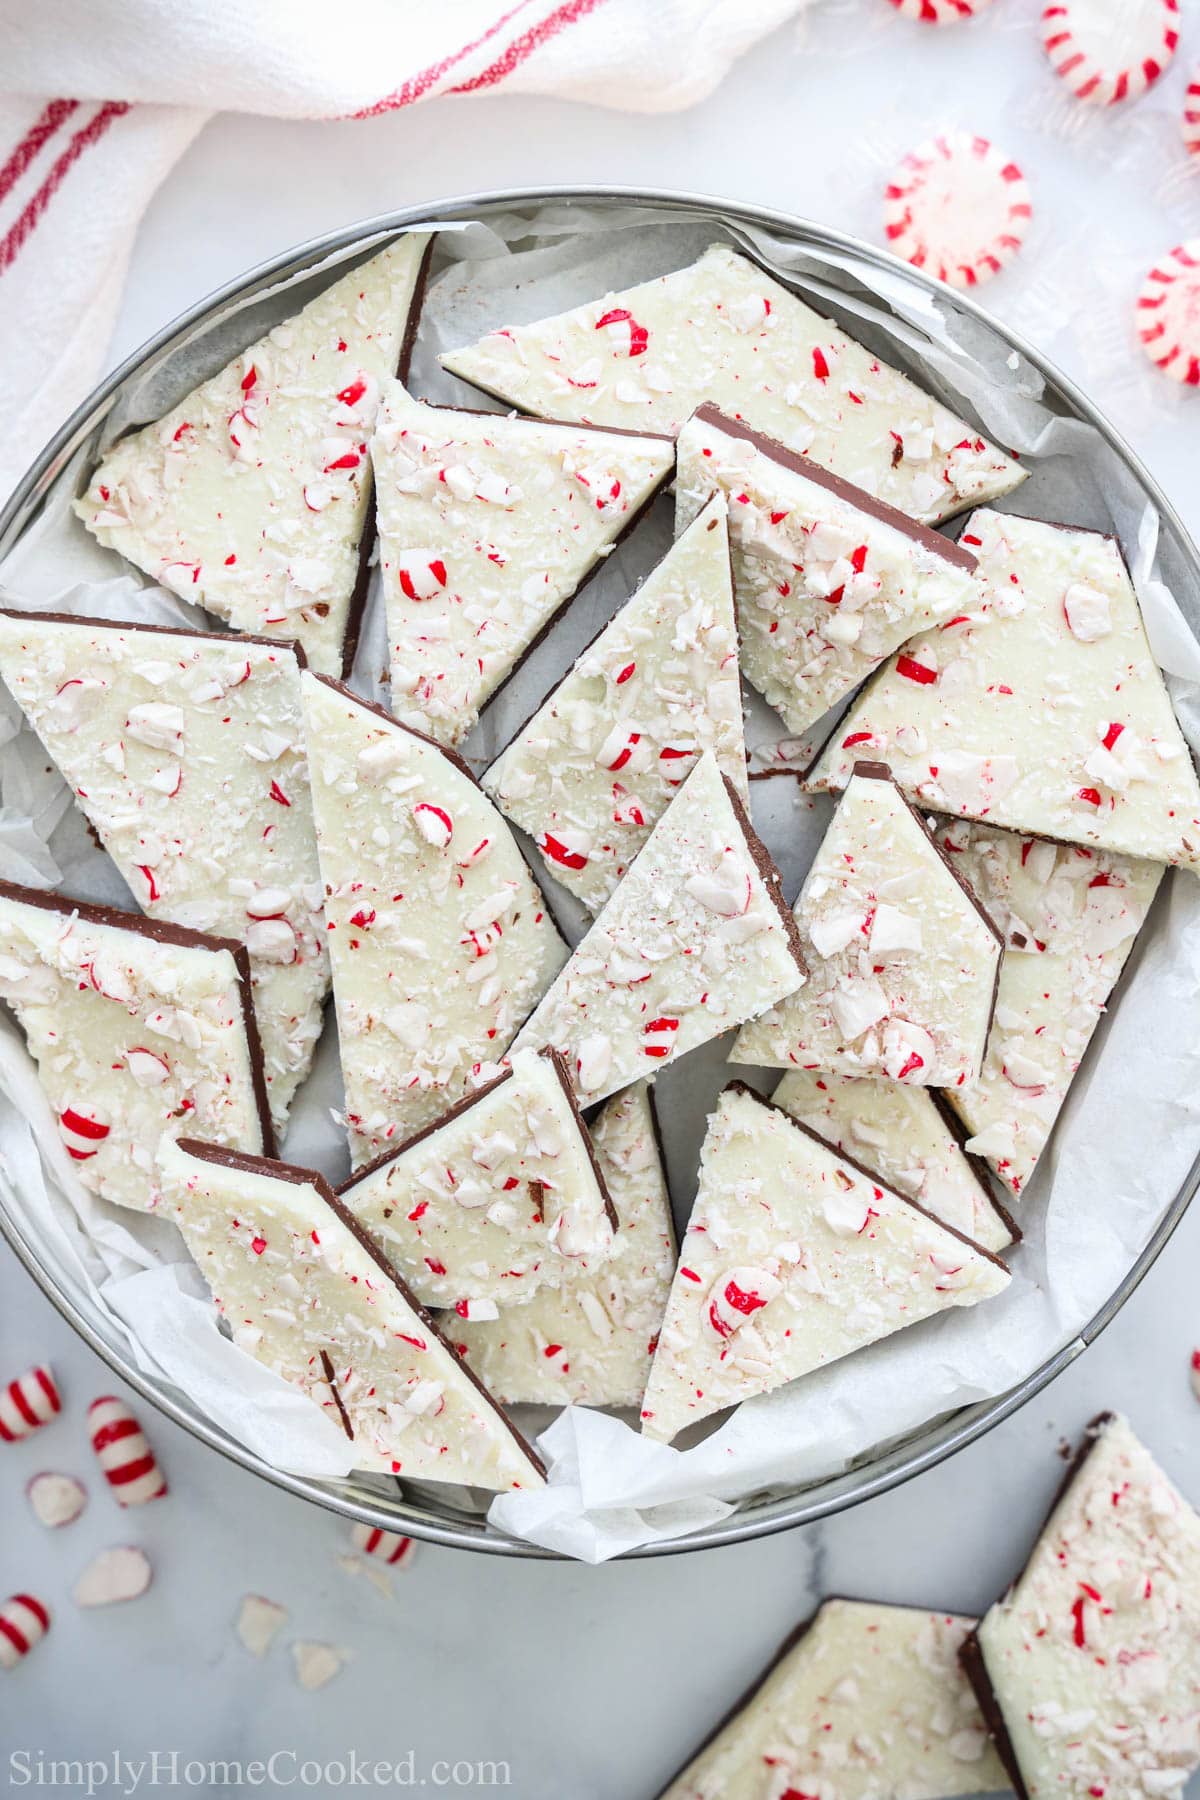
Table Of Contents
Recipe Details
I love the mix of chocolate and peppermint in this homemade Peppermint Bark. It’s so simple and makes a great gift for friends and family during the holidays.
- TASTE: Sweet and rich, this dessert is full of chocolate and peppermint flavor.
- TEXTURE: Creamy chocolate that’s hardened with crushed pieces of peppermint candy sprinkled on top, this Peppermint Bark has lots of crunch.
- TIME: This dessert will take 25 minutes.
- EASE: It’s so easy and only uses 4 ingredients. You’ll have no trouble making this tasty bark with the step-by-step photos in this recipe.
Ingredient Notes
- Semi-sweet chocolate- This chocolate has a rich chocolaty taste that’s not too sweet. The slight bitter edge goes well with the other sweet ingredients.
- White chocolate- This is great for adding sweet chocoate flavor and looking pretty with the pieces of peppermint.
- Peppermint extract- It adds the peppermint flavor to the chocolate.
- Peppermint starlight candies- These will give a burst of minty flavor as well as a delicious crunch.
Add-ins and Substitutions
- Substitute other chocolates- Try this Peppermint Bark with dark chocolate, milk chocolate, or mint chocolate. You can use whatever variety you like.
- Add nuts and fruit- Bark is delicious with nuts, like hazelnuts, almonds, pistachios, and cashews; or with fruit, like dried cherries, cranberries, and apricots.
- Substitute the starlight candies- If you have no starlight candies, any peppermint candy will work, including candy canes. Just crush them up and add to the bark.
- Add other toppings- You can add M&Ms, Reese’s pieces, sprinkles, and more. You can also change the flavor, such as with lemon drop candies and lemon extract instead of mint.
How to Make Peppermint Bark
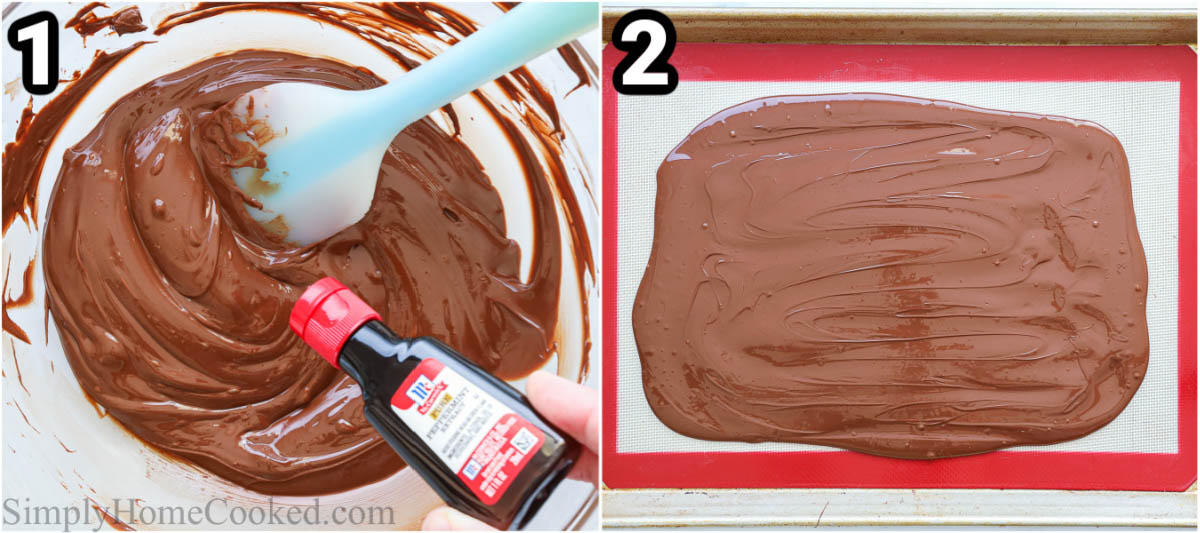
- Melt the chocolate. In a microwave-safe bowl, microwave the semisweet chocolate chips, stopping every 20 seconds to stir until thoroughly melted. Then stir in the peppermint extract.
- Firm up the chocolate. Now pour the melted chocolate onto a baking sheet lined with a Silpat silicone mat. Place the baking sheet into the freezer for about five minutes to firm up the chocolate.
Pro Tip: You don’t want the chocolate to fully set just yet, or else the white chocolate layer will not adhere to it well enough and possibly separate.
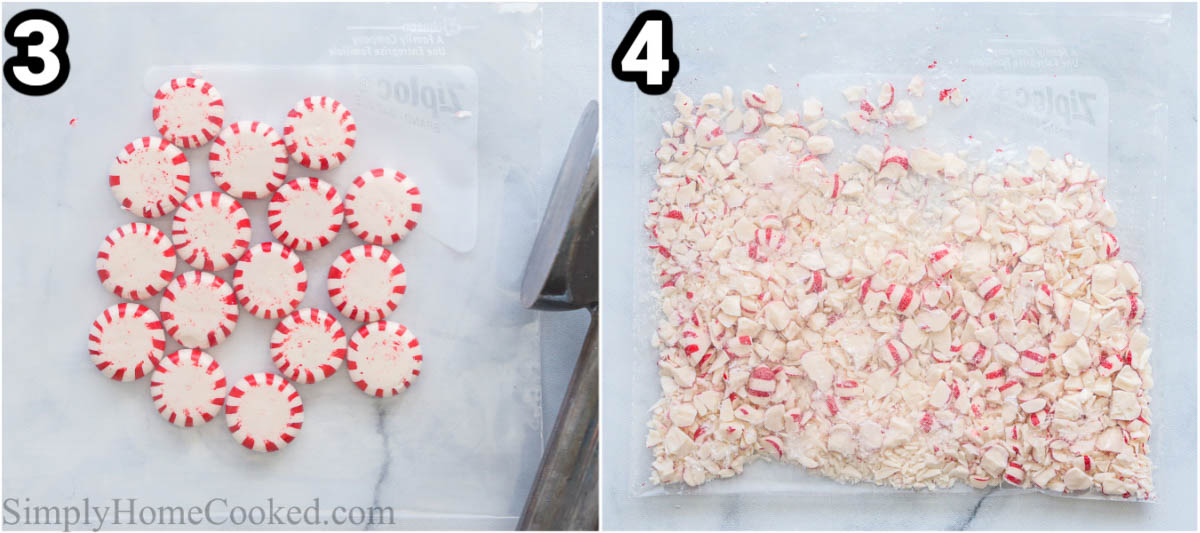
- Crush the peppermints. In the meantime, place the peppermint candies into a Ziploc bag, then use a meat mallet to crush them up into fine pieces. Set aside.
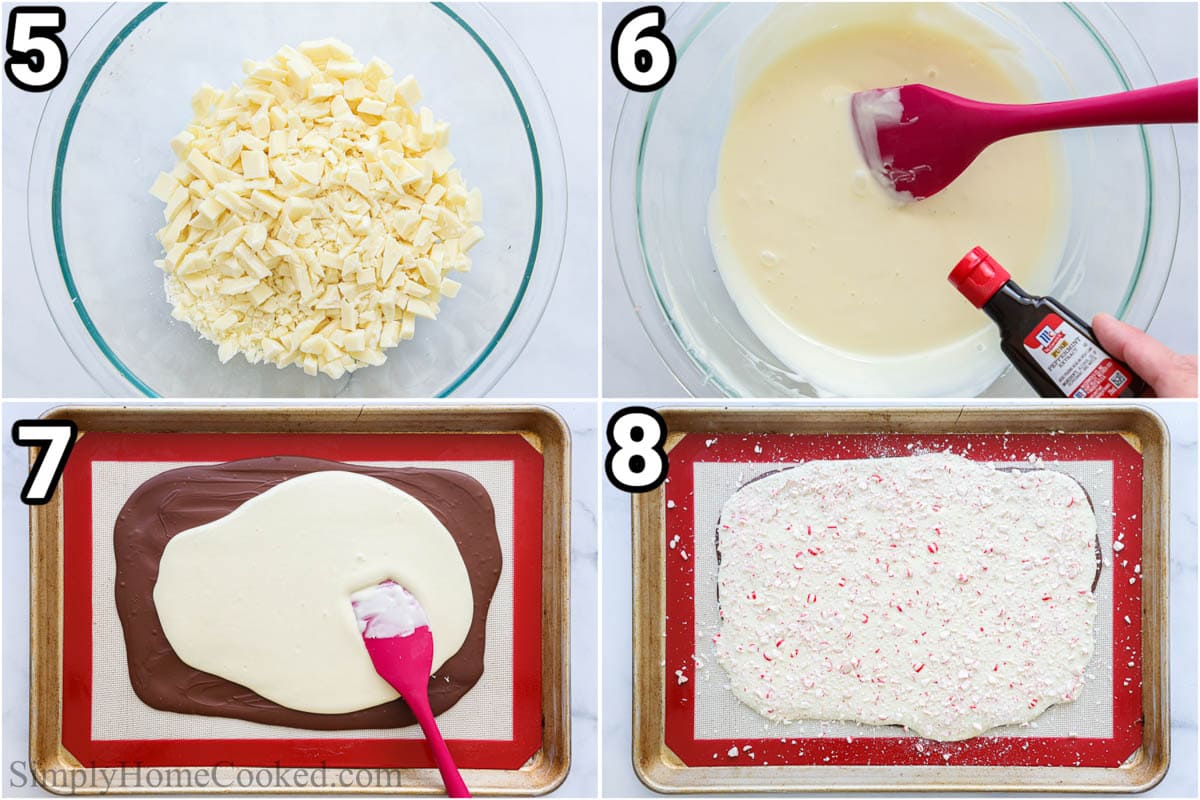
- Melt the white chocolate. Now chop up the real white chocolate and melt it in the microwave in 20-second intervals. Then add the peppermint exxtract and stir.
- Firm up the white chocolate. Now pour the melted white chocolate right over the firmed-up semisweet chocolate and sprinkle the crushed peppermint candy on top while the white chocolate is still wet.
- Set the bark and chop it up. Place the peppermint bark into the freezer for about 10 minutes to fully firm up. Then break it up into jagged pieces or place it on a cutting board and cut it with a knife. Serve and enjoy!
Recipe Tips
- Melt the chocolate carefully- Because chocolate can scorch easily, stir it every 20 seconds so you only heat it as much as necessary. If your microwave has a “melt chocolate” feature, use that.
- Use an offset spatula for spreading- These irregularly shaped spatulas make spreading the chocolate just a little easier.
- Crush the candies in a bag- To avoid mess, use a strong zip lock bag for doing this. Also, a rubber meat mallet will crush them without tearing the bag as a metal one will.
- Use high-quality ingredients- Using block white chocolate and good quality semi-sweet chocolate will ensure that this simple treat tastes the best.
FAQs
Peppermint bark is mainly made with just four ingredients: Semi-sweet chocolate, white chocolate, peppermint extract, and crushed peppermint candies or candy canes.
Homemade peppermint bark will last for 2 weeks at room temperature and 3 weeks in the refrigerator. Keep it in an airtight container or wrap it in plastic wrap to preserve freshness.
Serving Suggestions
This Peppermint Bark is the quintessential winter treat. It’s delicious with other desserts and chocolates served to celebrate the holidays.
- Chocolates: Pair it with Coffee Chocolate Mousse, Mini Pavlova with Chocolate (VIDEO), Chocolate Pot De Creme, or White Chocolate Creme Brulee.
- Cakes: Serve this Peppermint Bark with a slice of Tiramisu Cake (VIDEO), New York Style Cheesecake, or Chocolate Lava Cake (Video).
- Cookies: Enjoy them alngside some White Chocolate Macadamia Nut Cookies, Chocolate Meringue Cookies, Mint Chocolate Chip Cookies, or Amaretti Cookies (VIDEO).
- Beverages: Serve this treat with a hot cup of coffee, tea, a Pumpkin Spice Latte, or some Hot Chocolate.
Make This Recipe in Advance
Make ahead: Because this peppermint bark stores at room temperature or in the fridge for weeks, you can easily make it ahead of time. It’s perfect as a holiday gift.
Storing: Store this Peppermint Bark in an airtight container or wrapped in plastic wrap. It will last for 2 weeks at room temperature, and 3 weeks in the fridge.
Freeze: Freezing is not recommended since the candy pieces will be sticky when it thaws. Chocolate in general does not like moisture so it’s best not to freeze peppermint park.
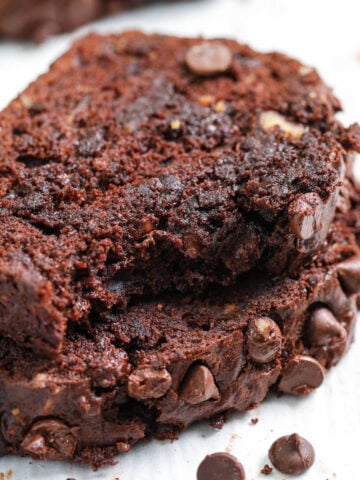
More Yummy Chocolate Dishes!
Watch Video Recipe Here
Full Recipe Instructions
Equipment
- Silicone mat (or parchment paper)
Ingredients
- 12 oz semisweet chocolate melted
- 13 oz white chocolate melted
- 1 tsp peppermint extract divided
- 16 peppermint starlight candy crushed
Instructions
- In a microwave-safe bowl, melt 12 oz of semisweet chocolate chips. Make sure to microwave in 200second intervals with stirring in between to avoid scorching the chocolate. Once the chocolate is melted, stir in 1/2 a tsp of peppermint extract.
- Now pour the melted chocolate onto a baking sheet lined with a Silpat silicone mat. And place the baking sheet into the freezer for about five minutes to firm up the chocolate. You don’t want the chocolate to fully set just yet, or else the white chocolate layer will not adhere to it well enough and possibly separate.
- In the meantime place 16 peppermint candies into a Ziploc bag, then use a meat mallet to crush them up into fine pieces. Then set them aside for later.
- Now chop up 13 oz of real white chocolate (not morsels). Then melt them in a microwave-safe bowl in 20-second intervals. If possible use the “melt chocolate” setting on your microwave.
- once the chocolate is melted add 1/2 tsp peppermint extract and stir it in thoroughly.
- No pour the melted white chocolate right over the firmed-up semisweet chocolate. then sprinkle the crushed peppermint candy while the white chocolate is still wet.
- Place the peppermint bark into the freezer for about 10 minutes to fully firm up. Then break up the peppermint bark into jagged pieces or place it on a cutting board and cut it with a knife. Serve and enjoy!
Notes
- Melt the chocolate carefully- Because chocolate can scorch easily, stir it every 20 seconds so you only heat it as much as necessary. If your microwave has a “melt chocolate” feature, use that.
- Use an offset spatula for spreading- These irregularly shaped spatulas make spreading the chocolate just a little easier.
- Crush the candies in a bag- To avoid mess, use a strong zip lock bag for doing this. Also, a rubber meat mallet will crush them without tearing the bag as a metal one will.
- Use high-quality ingredients- Using block white chocolate and good quality semi-sweet chocolate will ensure that this simple treat tastes the best.
Nutrition

- Zapekanka (Farmer’s Cheese Cake) - July 13, 2026
- Chicken Crust Pizza - July 11, 2026
- Easy Beef Chili Recipe - July 7, 2026

karen howell says
I am going to make these but wanted to know if you can freeze them?
Dina says
Hi Karen, sugar and chocolate usually don’t freeze too well since chocolate and moisture don’t like each other. I wouldn’t recommend freezing it. It can be made a few days ahead of time and kept in an airtight container instead 🙂